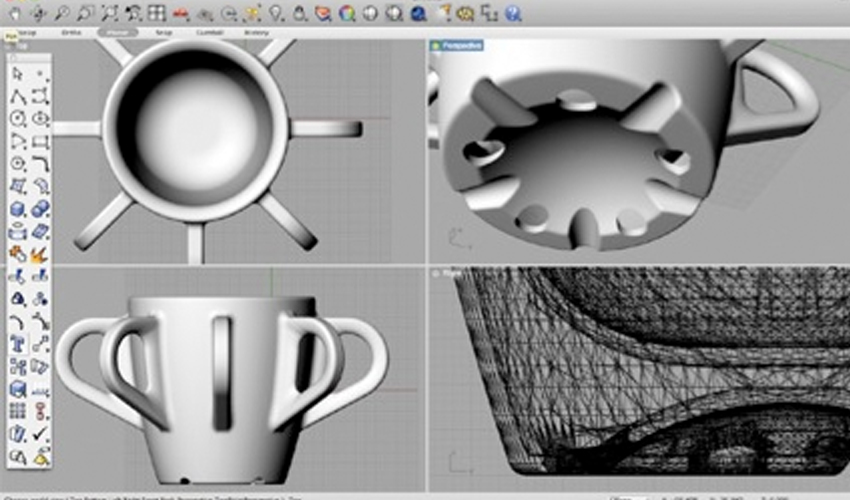
There are few things that might not be very obvious when designing for 3D printer. To ensure that the 3D printing process goes as smoothly as possible (and to save you time and money) keep in mind the following steps.
- Make your model “Solid” or “Watertight”
- Give your walls thickness
- Support overhanging roofs
- Hollow the shell
- Check your model before printing
Make your model “Solid” or “Watertight”
Models must be “Solid” to be 3D printable. Solid, sometimes called “watertight” or “manifold” simply means the model is a complete enclosure. If you were to fill it with water, none would drain out, and the model must not have any extra lines or faces.

Another way to define solid: Every edge in your model must be bordered by exactly two faces. If an edge has less than two faces bordering it, there is an adjacent hole, and if there are more than two faces touching an edge, there is an extra face that needs to be deleted.
The most common errors (and the corresponding solutions) are:
- Stray edges (just delete them)
- Holes (trace an edge to fill them)
- Internal faces (delete them)
Give your walls thickness
Wall thickness is a key element in 3D printing – walls need to be thick so they’re strong enough to work in real life.
Minimum FDM thicknesses. (Standard 3D printing)
- Walls > 1.2mm
- Base > 1.2mm
- Minimum feature > 3mm
- Minimum hole diameter > 2mm
Minimum SLA thicknesses. (High Resolution Liquid Resin)
- Walls > 0.5mm
- Base > 1mm
- Minimum feature > 0.3mm
- Minimum hole diameter > 1mm
Support overhanging roofs
3D printing resin can be as runny as tooth paste or even water. 3D printing resin will flow under its own weight, so it needs support.
Overhangs are where there is a horizontal surface that is not supported underneath. Examples of overhangs are – Ceilings, Doorways, Windows
Overhangs can be made 3D printable in the design by
- making the underside angle more vertical than 45 degrees
- make any unsupported overhangs less than 1.5mm un-supported and more than 2mm thick
- doorway and window features should have less than 10mm of un-supported length

Hollow the shell
Depending on the printing process and material, the wall-thickness requirements vary. In this case, we will use a 3mm wall thickness. To do so, we can use the fantastic software MeshLab, which is ideal for this kind of task.
What we need to do is create an offset of our model with the desired thickness, so open the model and navigate to Filters > Remeshing > Uniform Mesh Resampling (this may differ, depending on your software). Change the settings to Precision 1.0, Offset value -3 (desired wall thickness) and check both Clean vertices and Multisample. Now we should have a nice inner shell. We now need to invert its normals in order for it to be understood as a hollow model (Filers > Normals, Curvature and Orientation).

Invert the orientation of the inner shell: click View > Show layer dialog and select the offset layer. Click Filters > Normals > Invert Faces Orientation. To make the final file, click Layer > Flatten Visible Layers File > Export Mesh as. Next we just need to add a little hole for the excess material to escape. You can do that with your modelling software – normally, a hole with a diameter double the wall thickness should be enough, so in this case that means a 6mm diameter.
Check your model before printing
Software allows to you check your model before sending it to a 3D printer and in some instances you can even fix it without going back to the drawing software.
MeshLab
MeshLab is an open source project and allows you to view all potential errors (http://meshlab.sourceforge.net).
After installing the software, import your model and from the drop down menu “render” select “show non manifold edges”. All the errors will display in red.
Netfabb
This is a free program (http://netfabb.com/) which can edit stls. It can open a stl and shows basic failures on a model. It also has the basic features to edit a stl like analyze, scaling, measuring and repair.
These are the buttons which are needed to fix your model. Analyze will give additional information about the part besides the basic information, which is already known. For example it will tell you if you have holes, boundary edges, flipped triangles or bad edges in a part.
Repair is the tool which separates Netfabb from other stl identification software. The tool does the same analysis as that of the analyze button but, with your commands, will repair these negative effects as well. The last one is measuring. This will allow you to measure the distance between triangles. This comes in handy when you’re looking for critical points for your minimum wall thickness.
To fix these issues, use the repair button on the upper right of the screen. The red cross will open a new interface on your right.

When completed, export your model to .STL and you are ready to print.
Google SketchUpFind holes in your Sketchup mesh easily with the Solid Inspector plugin – this plugin allows you to view any errors instantly, so you can fix them straight away (http://extensions.sketchup.com/en/content/solid-inspector).


